
ice dam roof repair Boise: Costs, R-Value, and What Works
⏱️ 8 min read · Last updated: 2026
- Typical ice dam repair cost in Boise often falls around $400–$1,500 for removal and minor leak mitigation, while larger repairs can run $1,500–$5,000+ if shingles, decking, or drywall are involved.
- The commonly recommended attic insulation R-value for Boise roofs is about R-49 to R-60, depending on the attic assembly and local energy goals.
- Heat cable install pricing is commonly about $12–$20 per linear foot installed, with many homes landing around $800–$2,500 total.
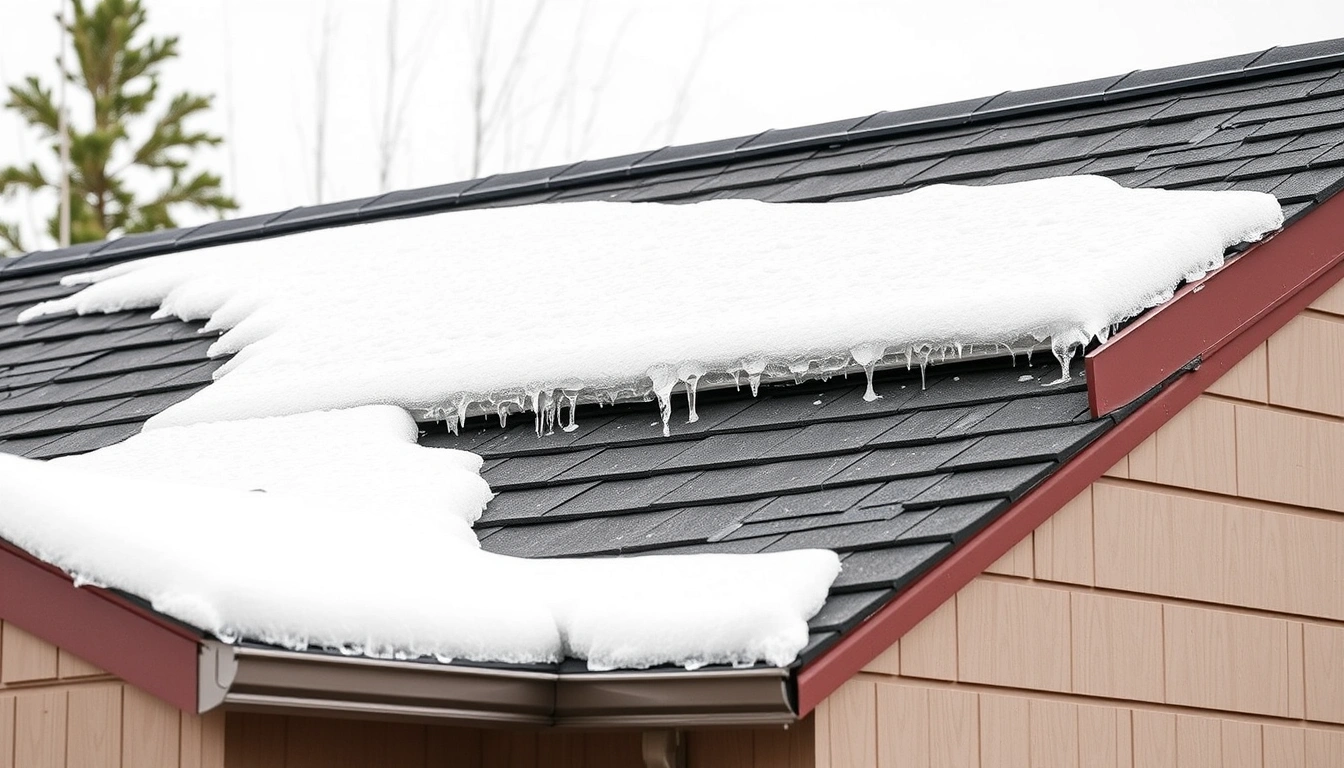
- Ice dams form when attic heat melts snow on the roof, then the meltwater refreezes at the colder eaves during freeze-thaw cycles.
- Boise homeowners usually get better results from air sealing plus attic insulation than from heat cable alone.
A wet ring on the ceiling after a clear, cold Boise morning usually points to ice dam roof repair Boise, not a random roof failure. The leak often starts at the eaves, then shows up 10 to 20 feet away inside the house, which is why the damage looks disconnected from the cause.
I have seen the same pattern over and over: the roof edge freezes, the attic stays too warm, and meltwater backs up under the shingles. One winter check I did on a drafty attic showed enough warm leakage around recessed lights and the attic hatch to turn a light snowpack into a recurring ice dam within days. That is why ice dam removal alone rarely solves the problem.
Why does my Boise roof leak only in winter from ice dams?
Because the leak is usually a freeze-thaw problem, not a rain problem. Warm attic air melts snow on the upper roof, the water runs down to the cold edge, then freezes and builds a ridge that traps more water behind it.
In Boise, the roof often cycles between daytime melting and nighttime refreezing during cold snaps. That freeze-thaw cycle is the real culprit. The key visual clue is the thick ridge of ice at the eaves, not the middle of the roof.
Quotable line: An ice dam is usually an attic heat-loss problem first and a roof leak second.
The failure path is easy to picture if you stand in the attic with a flashlight. You are looking for warm spots, thin insulation, and blackened dust lines that show air movement. Those are the places where heat escapes and melts snow from below.
| Visible sign | What it usually means | What not to assume |
|---|---|---|
| Ice ridge at the eaves | Snow melted higher on the roof and refroze at the cold edge | That the shingles failed first |
| Ceiling stain near an exterior wall | Water backed up under shingles and entered at the edge | That the leak came from the stain location |
| Condensation in the attic | Air leakage and poor ventilation or insulation balance | That more roof caulk will fix it |
If you want the source material for that logic, the U.S. Department of Energy’s attic insulation guidance is a good starting point, and the International Energy Conservation Code is the other reference many pros use when evaluating attic upgrades. The building science is boring. The leak is not.
How do I prevent ice dams on my Idaho roof?
You prevent ice dams by stopping heat loss into the attic before you spend money on repeat removal. In most Boise homes, the best sequence is air seal, raise attic insulation to the right R-value, then add heat cable only if the roof design still creates a trouble spot.
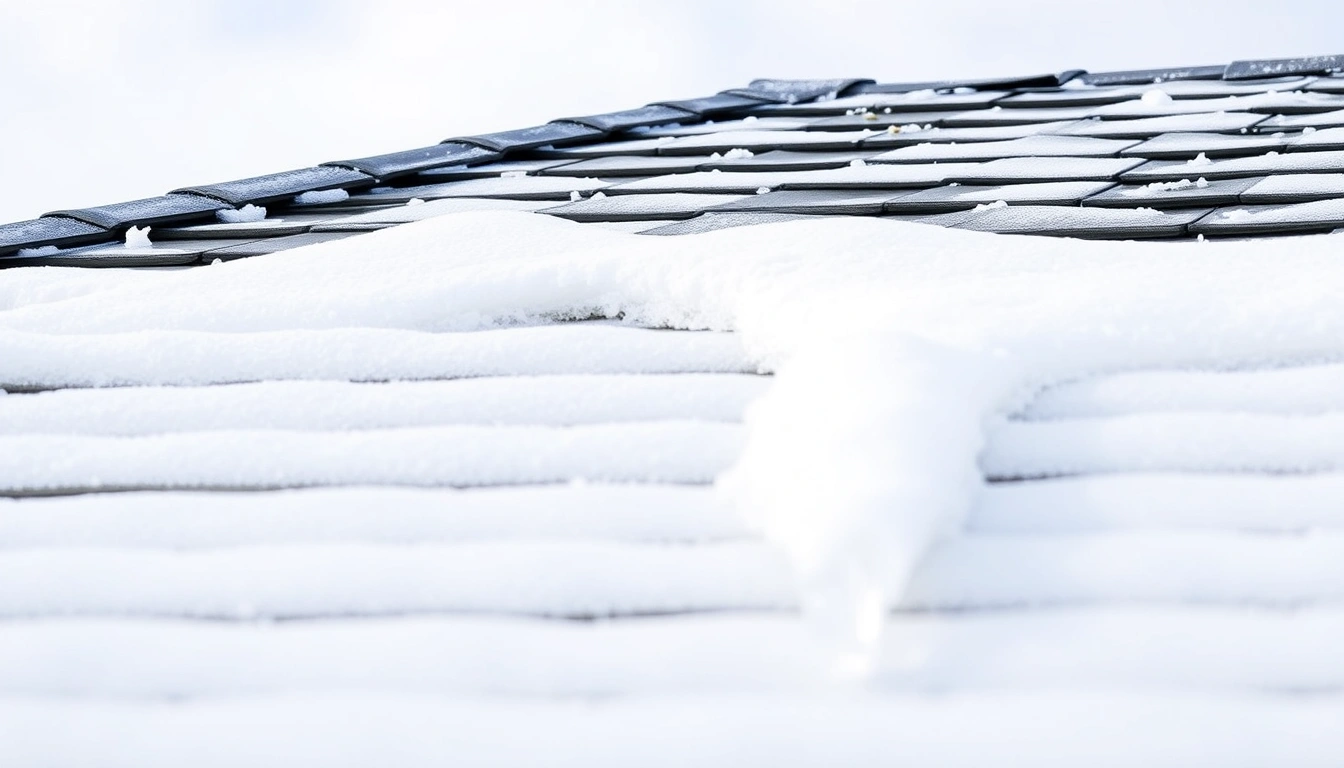
This is the part most people miss. A roof rake can help after a storm, but it does nothing for the warm attic that keeps melting the snow. If the attic is the heat source, the ice dam will come back.
- Seal the attic air leaks. Check the attic hatch, recessed lights, plumbing penetrations, bath fans, and top plates. What to check: you should feel no warm air movement. What not to do: caulk random roof shingles and call it done.
- Measure the existing insulation depth. Look for compressed batts, bare joists, and wind-washed edges. What to check: even coverage across the attic floor. What not to do: pile loose fill over obvious air leaks.
- Target the right attic insulation R-value. For many Boise roofs, R-49 to R-60 is the practical target. What to check: depth and type of insulation, not just “looks fluffy.” What not to do: assume one extra bag solves heat loss.
- Verify ventilation paths. Soffit intake and ridge exhaust should be open. What to check: insulation should not block soffit vents. What not to do: stuff fiberglass into the eaves.
- Use heat cable only where needed. Put it on known trouble edges, valleys, or inside gutters. What to check: the roof design justifies the cable. What not to do: wrap the whole roof in cable as a first move.
- Plan for snow control after storms. If accumulation is heavy, use a roof rake from the ground before melt-freeze cycles set in. What to check: the rake only removes the lower edge snow. What not to do: climb onto an icy roof.
The best Boise roof repairs often look boring from the street and dramatic in the attic. You may not see the win until the next freeze-thaw cycle, but you will notice the difference when the eaves stay clear and the stain stops growing.
For wind-driven winter damage that overlaps with leak issues, I also keep an eye on related roof problems like wind damage roof repair Boise and storm damage roof repair Boise, because wind can lift shingle edges that later make ice dam leaks worse.
Should I remove an ice dam myself or hire a Boise pro?
You can remove a small, reachable ice dam yourself if you can do it from the ground with the right tool and no ladder work. If the roof is steep, the ice is thick, or water is already entering the attic, hire a Boise pro.
The safe DIY job is usually more like controlled snow removal than brute-force chipping. The goal is to create a drainage path, not to break the roof edge. I have seen more shingle damage from hammers and axes than from the original ice dam.
- Start from the ground. Use a roof rake to pull down the lower snow band. What to check: you can reach the eaves without a ladder. What not to do: stand under falling ice.
- Protect the interior first. Put buckets under active leaks and move valuables. What to check: the leak is contained. What not to do: wait for the stain to “dry out.”
- Use low-risk melting methods. Apply calcium chloride in a fabric tube or pantyhose sock across the dam. What to check: the melt path starts slowly. What not to do: use rock salt or pour it directly on shingles.
- Open a drainage channel. Let meltwater escape toward the gutter. What to check: water begins moving within hours, not minutes. What not to do: chip a trench with metal tools.
- Dry the attic after the leak stops. Check insulation, sheathing, and drywall for wet spots. What to check: moisture is not trapped. What not to do: close up a damp attic cavity.
- Call a pro if the edge is high-risk. Steep pitches, two-story eaves, and heavy ridge ice belong to trained crews. What to check: the roofer has ice dam removal experience. What not to do: choose the cheapest ladder-and-blowtorch option.
A Boise ice dam usually costs less to remove than to repair after a botched DIY attempt.
Boise pros commonly charge a few hundred dollars for basic ice dam removal, and the price climbs fast if they must protect landscaping, clear multiple roof planes, or stop active interior damage. If you already have a ceiling stain, look beyond removal and check the leak source too. A useful related resource is roof leak after storm Boise, because the diagnosis steps overlap when water reaches the attic.
The attic insulation R-value that changes the outcome
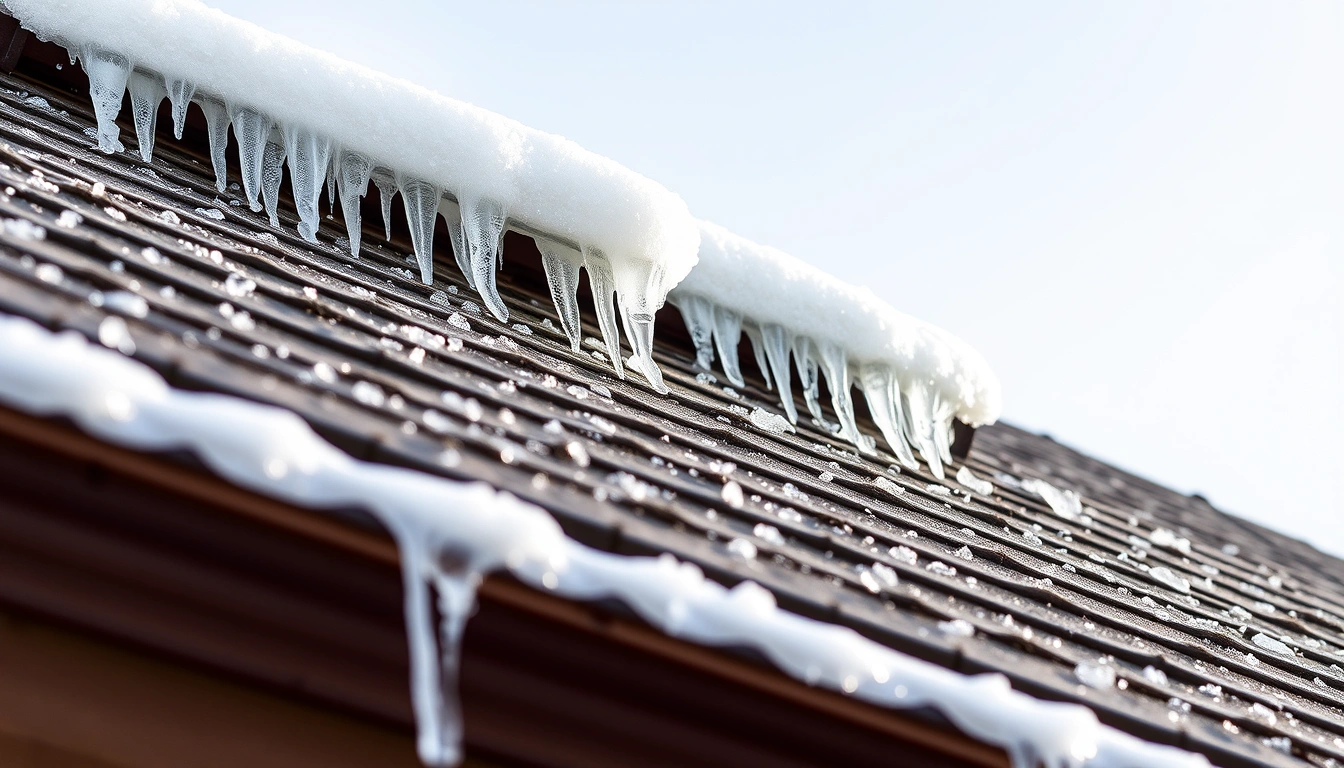
The practical attic insulation target for many Boise homes is R-49 to R-60, and that range matters more than most people think. If the attic floor is under-insulated or uneven, the roof deck warms unevenly and the ice dam forms faster.
R-value is just a measure of resistance to heat flow. In real life, the question is whether the attic floor is cold enough to keep snow from melting from below. If you can see joists from the attic entrance, the insulation is probably not close enough to target.
| Attic condition | Visual cue | Likely result |
|---|---|---|
| Under-insulated | Joists visible, thin or patchy coverage | More heat loss, more ice dam risk |
| Uneven insulation | Low spots near eaves and storage boards | Cold spots and recurring freeze-thaw damage |
| Air sealed and to target R-value | Consistent depth, vent channels open | Lower ice dam risk and less attic condensation |
The detail everyone gets wrong is settling. Loose-fill insulation can look fine when it is installed and then settle enough to leave the eaves vulnerable. That is why a quick visual check is not enough; you want depth markers or a contractor who can show the measured coverage.
For Boise homeowners, that means the decision is usually not “repair or insulation,” but “repair now, then insulation and air sealing before the next cold spell.” That order saves the most money in 2026 because it reduces repeat service calls.
When heat cable helps and when it does not
Heat cable helps on roofs with chronic cold-edge freezing, awkward valleys, or gutters that keep refreezing after a snowmelt. It does not fix attic heat loss, and it should never be the first solution on a roof that is already under-insulated.
Think of heat cable as a targeted tool, not a cure. It is useful when the roof shape creates a stubborn problem even after the attic is improved. It is weak when the actual issue is warm air escaping into the attic.
| Option | Typical installed cost | Best use | Limit |
|---|---|---|---|
| Heat cable install | $12–$20 per linear foot | Persistent eaves, valleys, gutters | Does not solve attic heat loss |
| Air sealing | Often a few hundred dollars to low four figures | Stopping warm air leaks | Requires attic access and attention to detail |
| Insulation upgrade | Commonly $1,500–$4,000+ depending on attic size | Long-term ice dam prevention | Must be paired with air sealing |
Here is the honest trade-off: heat cable is faster to install than a full attic fix, but it is also more dependent on the weather pattern and the homeowner using it correctly. In 2026, I would only choose it after checking the attic, because otherwise you are paying to manage a symptom.
Quotable line: Heat cable is a patch for a roof edge, not a substitute for attic insulation.
If hail or storm exposure cracked shingles first, the repair path changes. In that case, compare the roof surface condition with related services like hail damage roof repair Boise, because broken shingles can turn a minor freeze-thaw event into a leak fast.
What good ice dam roof repair Boise actually looks like
Good ice dam roof repair Boise solves the leak, lowers the attic heat loss, and leaves a visible plan for the next cold snap. Bad repair removes the ice, patches the stain, and ignores the roof edge that froze in the first place.
When I inspect a good repair, I look for three things: a dry attic, even insulation, and a roof edge that no longer shows repeat melt lines. The key here is the transition from warm attic to cold eave — notice how the fix addresses that transition, not just the visible ice.
- Document the leak area. Photograph the stain, attic sheathing, and exterior eaves. What to check: the water path is mapped. What not to do: patch drywall before the roof is dry.
- Remove the ice safely. Use ground-based methods or a trained crew. What to check: shingles stay intact. What not to do: break the ice by force.
- Inspect the attic for air leaks. Look at penetrations, hatch framing, and vent baffles. What to check: no warm draft. What not to do: skip the attic because the leak was on the roof.
- Measure insulation depth. Compare depth against the Boise target range. What to check: the attic is near R-49 to R-60. What not to do: assume “newer” means adequate.
- Check for moisture damage. Scan rafters, sheathing, and drywall seams. What to check: no lingering dampness or mold smell. What not to do: seal wet materials inside the attic.
- Choose the permanent fix. Air seal, insulate, then add heat cable only if the roof shape still needs it. What to check: the fix matches the cause. What not to do: install heat cable before measuring the attic.
The mistake I made early on was thinking the visible ice was the whole problem. It is not. The visible ice is the result, and the attic is usually the cause.
Key Takeaways
- ice dam roof repair Boise works best when you fix the attic heat loss first, not just the ice at the edge.
- Boise attic insulation should often be around R-49 to R-60, with air sealing done before or with the upgrade.
- Heat cable is useful for problem roof edges, but it does not replace insulation or stop freeze-thaw damage by itself.
- If the ice dam is steep, thick, or leaking indoors, hire a Boise pro instead of chipping at shingles from a ladder.
Common Questions About ice dam roof repair Boise
What causes ice dams on Boise roofs?
Ice dams on Boise roofs usually form when attic heat melts snow higher on the roof, then the water refreezes at the colder eaves. Poor attic insulation, air leaks, and freeze-thaw weather are the usual combination. If the attic is warm and the roof edge is cold, ice dam risk rises fast.
How to safely remove an ice dam step by step?
Start from the ground with a roof rake, protect the interior with buckets, and use calcium chloride in a fabric tube to open a drainage path. Do not chip the ice with metal tools or climb a steep roof. If the roof is high, icy, or already leaking, hire a Boise pro.
Insulation upgrade vs heat cables — which prevents ice dams better?
Insulation upgrade and air sealing prevent ice dams better than heat cables because they reduce the attic heat that starts the problem. Heat cables help specific roof edges, valleys, and gutters, but they are a patch, not a full fix. In most Boise homes, insulation comes first.
Why does my roof leak after snow melts and how to fix it?
A roof that leaks after snow melts often has an ice dam at the eaves. Water backs up behind the ice, then enters under shingles and shows up later inside. Fix the leak path, dry the attic, and correct the attic insulation R-value and air leakage before the next cold spell.
How much does ice dam damage repair cost in Boise?
Basic ice dam removal in Boise often lands around $400–$1,500, while more involved repairs with shingles, decking, or drywall can reach $1,500–$5,000 or more. Heat cable install commonly adds about $12–$20 per linear foot. The final cost depends on access, roof pitch, and interior damage.
Can I stop an ice dam with a roof rake alone?
A roof rake can reduce snow at the eaves and sometimes prevent a small ice dam from growing, but it does not fix the attic problem that caused the melt in the first place. Use it as a short-term tool after storms, then inspect insulation, air leaks, and ventilation.
The Bottom Line
For ice dam roof repair Boise, the smartest move is usually not the loudest one. Remove the ice safely if you must, but spend your real effort on attic air sealing, insulation, and only then heat cable where the roof shape truly needs it. If you have one leaking edge this week, inspect the attic hatch and eaves today, then decide whether you need a roofer or an insulation crew. Pick one thing from this article and try it this week — not all of it, just one.
For the bigger Boise storm picture, the repair-and-prevention decisions fit into the broader pattern covered in our Storm & Hail Roof Damage in Boise: Repair, Insurance & Prevention pillar.
See also: storm damage roof repair Boise
See also: wind damage roof repair Boise
See also: hail damage roof repair Boise
Related: denied roof claim appeal
Related: roof snow load Boise
Leave a Reply