
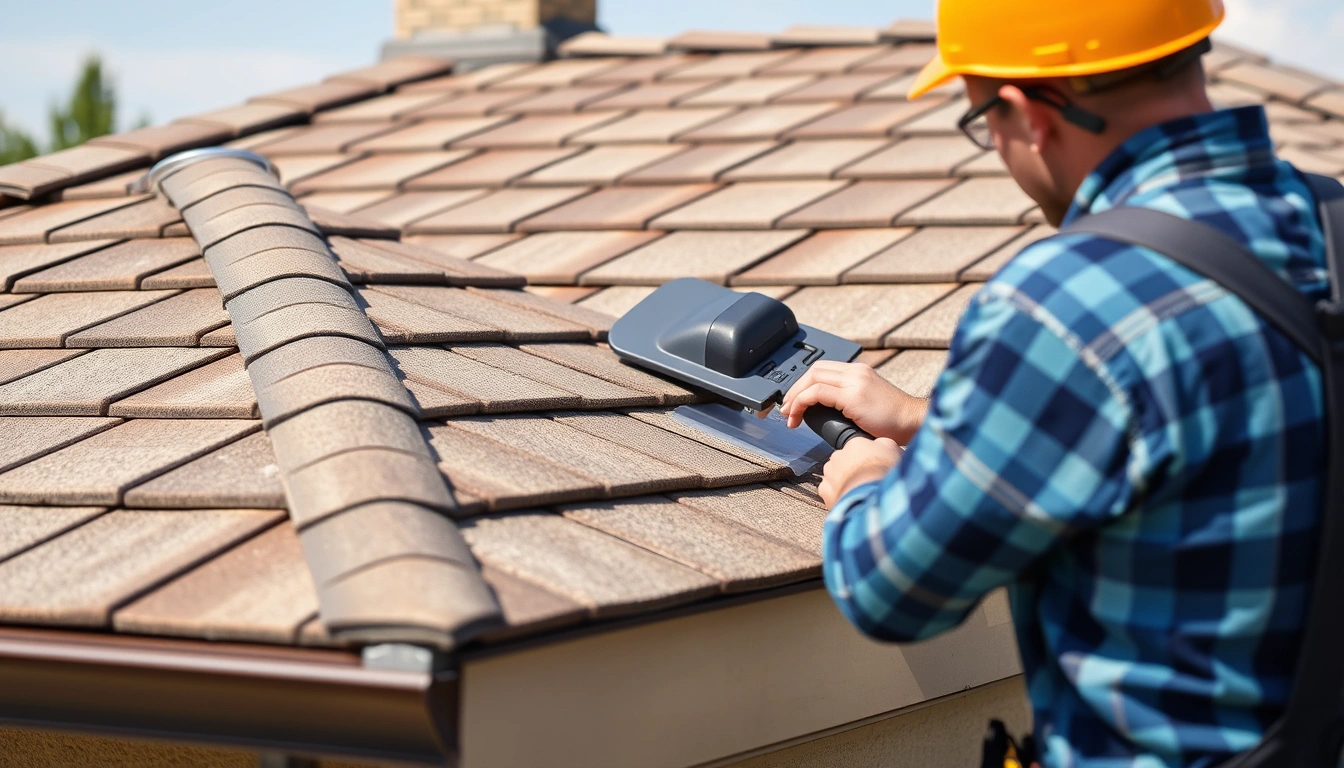
free roof inspection Boise: What’s Free, What’s Not, and How to Spot Pressure
⏱️ 10 min read · Last updated: 2026
- Inspection duration: most Boise roof inspections take 20 to 45 minutes on site; larger or steeper roofs can take closer to 60 minutes.
- Report turnaround time: a basic inspection report is often delivered the same day or within 24 hours; detailed insurance documentation can take 1 to 2 business days.
- Drone inspection availability: drone inspection is commonly available for steep-slope, hail-prone, or hard-to-access roofs, but not every roof needs it.
- Typical paid inspection cost: when an inspection is not free, Boise homeowners often see prices in the $150 to $350 range for an independent roof inspection.
- Storm timing: a post storm inspection is most useful within 24 to 72 hours after hail, wind, or a fallen branch, before minor damage gets missed.
A Boise hailstorm can leave almost no visible mess on the driveway and still bruise shingles, crack sealant, or lift flashing. That is why a free roof inspection Boise is worth taking seriously if the roof took a hit. The useful version is not a sales pitch with a ladder attached; it is a documented roof inspection with photos, plain language, and a reason for every recommendation.
I have watched the difference in real life: one homeowner got a quick “looks fine” from a door-knocker, then a second inspection found lifted tabs and granule loss around the north slope. The first visit took ten minutes and produced nothing useful. The second took 32 minutes, included attic checks, and ended with a written inspection report the insurer could actually use.
What a free roof inspection in Boise actually includes
A real free roof inspection Boise includes a full exterior look, photo documentation, and a short explanation of what was found. It should also identify whether the roof needs repair, monitoring, or a claim conversation, not just whether it “looks okay from the ground.”
The simplest way to judge quality is to look for the parts a rushed visit skips. Good inspectors check shingles, flashing, pipe boots, ridge caps, gutters, soft spots, and attic staining if access is available. They also note storm-specific damage like impact marks, lifted edges, and missing seal strips.
| What to check | Good inspection | Red flag |
|---|---|---|
| Photos | Close-up images of damage and wide shots for context | No photos, or only one blurry roofline image |
| Scope | Shingles, flashing, vents, gutters, attic signs, drainage | Only a quick ground glance |
| Output | Clear inspection report with next steps | Vague “we should replace it” pitch |
A legitimate free roof inspection in Boise is useful only if it produces evidence: photos, locations, and a written inspection report you can act on.
For Boise homeowners dealing with a likely storm roof inspection, the best inspection is the one that tells you what is damaged, what is cosmetic, and what can wait. That matters because not every hail bruise becomes a leak. Some do. Many do not.
What happens during a storm roof inspection?
A storm roof inspection usually starts outside, moves to the edges and penetrations, and ends with a summary of findings. The entire visit typically takes 20 to 45 minutes for an average Boise home, longer if the roof is steep, two-story, or covered in complex valleys.
The best inspectors work in a sequence. They do not bounce around randomly. They start with access, then scan the roof plane, then confirm the story from the attic or interior ceilings if the home allows it.
- Confirm access. The inspector checks ladder placement and roof safety first. What to check: stable ground, dry surfaces, safe slope. What not to do: let anyone walk a wet or loose roof just to save time.
- Inspect the perimeter. The inspector looks at gutters, downspouts, fascia, and ground-level debris. What to check: granules in gutters, dented metal, fallen shingle pieces. What not to do: ignore the edges, where storm clues often show first.
- Examine roof surfaces. The inspector checks shingle faces, ridges, valleys, and ridge caps. What to check: lifted tabs, bruising, cracked mat, missing sealant. What not to do: call every dark mark “hail damage” without evidence.
- Inspect penetrations. The inspector looks at vents, pipe boots, chimneys, skylights, and flashing. What to check: splits, gaps, exposed nail heads, rust, seal failures. What not to do: assume the field shingles are the only problem.
- Document with photos. The inspector takes wide and close images. What to check: clear context, date-stamped files if available, and matching locations. What not to do: accept unlabeled pictures with no explanation.
- Verify from inside if possible. The inspector checks the attic or ceiling stains for moisture trails. What to check: daylight through the roof deck, damp insulation, staining, odors. What not to do: skip the inside when the leak path may be hidden.
- Explain the outcome. The inspector tells you whether the roof needs repair, monitoring, or claim follow-up. What to check: plain language and a written inspection report. What not to do: accept pressure to sign a replacement contract on the spot.
That sequence matters because storm damage usually shows up in layers. A missing shingle is obvious. A lifted edge at the ridge is not. The difference between those two observations can be the difference between a simple repair and a larger insurance conversation.
For homeowners comparing options, this is also where related issues surface. A roof leak after storm Boise claim may begin with one roof slope and turn out to involve flashing or a vent boot. If water is already inside, the repair path changes fast.
Are free roof inspections in Boise really free?
Yes, many are genuinely free, but only if the inspector is upfront about what happens next. The inspection itself should cost you nothing. The pressure comes afterward, when some companies turn the visit into a sales appointment and act like the roof must be replaced immediately.
The cleanest way to test the offer is to ask three questions: Is the inspection free even if I do not buy? Do I get the inspection report without obligation? Will you show me the photos before discussing repair options? Clear answers here usually separate a real inspection from a lead-generation pitch.
| Type | What you pay | What you usually get |
|---|---|---|
| Free roof inspection | $0 | Visual inspection, photos, repair recommendation, sometimes a basic report |
| Paid independent inspection | Commonly $150–$350 | More detailed documentation, neutral opinion, better for disputed claims |
| Insurance adjuster visit | Usually $0 to the homeowner | Carrier assessment, claim-related documentation, not a repair quote |
Free does not mean low value, but it does mean you should expect a sales conversation after the inspection; the smart move is to separate the findings from the pitch.
If the roof is older, the conversation can still be fair. A 20-year-old roof may show wear that a storm simply exposed. That does not automatically mean replacement is the only option. It means the report should clearly separate age-related wear from recent damage.
For next steps after a loss, a roof insurance claim Boise question usually follows the inspection. Keep those two pieces distinct. Inspection first. Claim second. That order protects you from guessing.
How drone inspection works, and when it helps
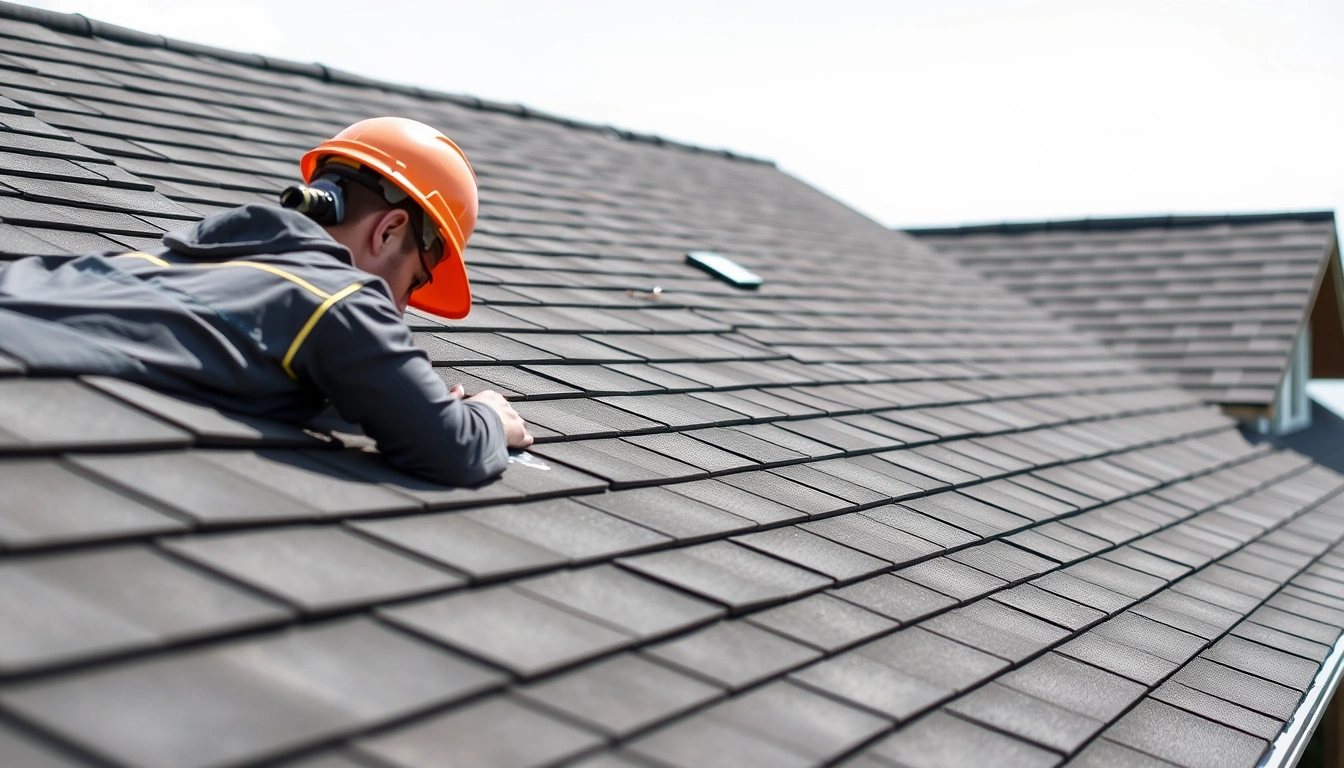
A drone inspection helps most when the roof is too steep, too high, or too fragile to walk safely. It gives the inspector a close look without adding foot traffic to a roof that may already be weakened by hail or wind.
Drone inspection is not magic, though. It is a camera platform, not a diagnosis by itself. The best use is to capture detail on slopes, ridges, and hard-to-reach areas, then confirm that detail with hands-on checks where safe and necessary.
- Choose drone inspection for access problems. What to check: steep slopes, multiple stories, fragile tile, or slick surfaces. What not to do: insist on walking every roof just because that feels more “thorough.”
- Use it for wide documentation. What to check: full-slope images, ridge lines, valleys, and flashing transitions. What not to do: rely on one close-up that has no context.
- Pair it with ground-level evidence. What to check: gutters, downspouts, fallen granules, and surrounding debris. What not to do: treat drone footage as the only proof.
- Confirm storm clues. What to check: impact marks, lifted shingle tabs, displaced caps, dented soft metal. What not to do: label staining as hail damage without impact evidence.
- Ask for labeled images. What to check: clear notes showing where damage appears. What not to do: accept a folder of unlabeled screenshots.
- Request a written summary. What to check: repair priorities and next steps. What not to do: leave with video and no explanation of what matters.
For Boise homes, drone inspection is often the safer option after a storm because wind and hail can weaken edges and slopes in ways you cannot see from the driveway. It is especially useful on steep roofs common in many newer neighborhoods. The tool matters less than the proof it collects.
One solid example: a 2,400-square-foot two-story home with a 7/12 pitch can often be documented faster and more safely by drone than by repeated ladder repositioning. That does not make the result better on its own. It simply reduces the risk of missing the north slope because access was awkward.
If you want broader context on hail-related repair decisions, the main difference between a useful aerial scan and a superficial one is whether the inspection report names specific roof details you can verify later.
The detail everyone gets wrong: pressure tactics
The biggest problem with free roof inspection Boise offers is not the inspection itself. It is the push that sometimes follows within minutes. A fair inspector explains findings; a pushy one tries to compress fear, urgency, and signature into the same conversation.
The easiest red flags are oddly specific deadlines, vague damage language, and a refusal to let you keep the photos or report. A real roof inspection does not need dramatic language. It needs evidence. If someone says the roof is “basically destroyed” but cannot point to exact locations, slow down.
The right question is not “Do I need a new roof today?” It is “What evidence shows repair, replacement, or monitoring?”
Here is the filter I use: if an inspector cannot explain the difference between cosmetic hail marks and functional damage in under two minutes, the pitch is ahead of the diagnosis. Cosmetic damage changes appearance. Functional damage affects weatherproofing. Those are not the same thing.
The other trap is selective framing. A company may show one damaged shingle and omit the rest of the roof, or point to old wear and call it storm damage. Boise homes with older asphalt roofs often have a mix of age, UV wear, and storm marks. A good inspection report separates those layers instead of blending them together.
If the conversation turns to replacement, ask what failed and where. Ask how many slopes are affected. Ask whether repairs are possible. Then compare the answer with a second opinion if anything feels rushed.
How to prepare before the inspector arrives
Preparation takes about 15 minutes and makes the inspection more accurate. You do not need to clean the roof or climb anything. You just need to remove obstacles, document what you already know, and make sure the inspector can see the problem areas safely.
- Take 6 to 10 phone photos of the damage area. What to check: ceilings, gutters, yard debris, visible dents, and any stains. What not to do: edit or crop the images so much that context disappears.
- Clear driveway and gate access. What to check: ladder access, parked cars, locked side yards, and pets. What not to do: make the inspector guess where to park or enter.
- Write down the storm date. What to check: hail timing, wind bursts, leaks, and any new noises. What not to do: rely on memory alone if you may later file an insurance claim.
- List what changed inside the house. What to check: ceiling spots, attic odors, drips, or damp insulation. What not to do: wait until mold appears before mentioning a small leak.
- Ask for the inspection format in advance. What to check: photos, notes, and an inspection report. What not to do: assume every company delivers the same level of detail.
- Plan to be available for 10 minutes at the end. What to check: the inspector’s summary and questions. What not to do: leave before the findings are explained in plain English.
This is also the right time to decide whether you want a repair estimate, a claim opinion, or just a record of damage. That choice affects how the inspection is framed. If you already suspect hail damage, it helps to ask for a hail damage roof review rather than a generic “look around.”
One honest mistake I have seen: homeowners wait to call until a stain grows, then assume the roof failed all at once. Often, the roof gave smaller clues first. The inspection is better when those clues are still visible.
What happens after the inspection report
After the inspection report arrives, the next move should be simple: compare the photos, the wording, and the recommended action. A good report does not just say “damage found.” It says what type, where, and whether the issue is urgent.
Most report turnaround times are same day to 24 hours for a basic visit, and 1 to 2 business days for more detailed documentation. That gives you time to ask follow-up questions before committing to repairs or a claim. If the report is vague, ask for labels on each image and a short note for each roof area.
- Read the summary first. What to check: the one-paragraph conclusion. What not to do: start with the photos and miss the actual recommendation.
- Match each photo to a roof location. What to check: slope, vent, valley, or flashing. What not to do: accept unlabeled images as evidence.
- Separate repair from replacement. What to check: isolated damage versus widespread failure. What not to do: treat every repair recommendation as a full replacement order.
- Compare the timing. What to check: whether the damage lines up with the last storm. What not to do: confuse age-related wear with a recent event.
- Get a second opinion if the scope feels oversized. What to check: whether another inspector sees the same damage. What not to do: ignore your gut when the pitch feels rushed.
- Use the report for your next step. What to check: repair quote, insurance conversation, or monitoring plan. What not to do: let the report sit in your inbox while the roof keeps taking weather.
If the report points to storm damage roof repair Boise needs, act quickly on the affected areas first. If it points to a wider claim issue, keep the report, your photos, and your timeline together. That package is what helps later, not a memory of what the inspector said.
A strong inspection report makes the next decision easier because it names the roof area, the damage type, and the recommended next step in one place.
Common Questions About free roof inspection Boise
- A real free roof inspection Boise should include photos, clear findings, and a written inspection report.
- Most inspections take 20 to 45 minutes, and many reports arrive the same day or within 24 hours.
- Drone inspection is best for steep, fragile, or hard-to-reach roofs, not as a replacement for all hands-on checks.
- The biggest red flag is pressure to replace immediately before you see the evidence.
What is included in a free roof inspection in Boise?
A legitimate free roof inspection in Boise usually includes a visual review of shingles, flashing, vents, gutters, and roof edges, plus photos and a written summary. If the roof is accessible, the attic may be checked too. The goal is to identify repair needs, not just to sell replacement.
How to prepare for a roof inspection step by step?
Take a few phone photos of any visible damage, clear driveway access, note the storm date, and list any leaks or ceiling stains. Keep pets inside and ask in advance whether you will receive an inspection report. That takes about 15 minutes and improves the result.
Free inspection vs paid inspection — which is more thorough?
A paid inspection is often more thorough because it is usually more detailed, more neutral, and better documented. In Boise, paid inspections commonly run $150 to $350. A free inspection can still be very useful, especially after a storm, if it includes photos and a clear inspection report.
Why did the free inspection push a full replacement and how to respond?
Some companies use a free inspection as a sales funnel, so replacement comes up fast. Ask to see the photos, ask which roof areas failed, and ask whether repair is possible. If the answer is vague or rushed, get a second opinion before signing anything.
How much is a paid roof inspection in Boise if not free?
If a roof inspection is not free, Boise homeowners often see independent inspection pricing around $150 to $350. The exact cost depends on roof size, slope, accessibility, and whether you need a detailed report for insurance or a second opinion after storm damage.
When should I schedule a post storm inspection in Boise?
Schedule a post storm inspection as soon as you can, ideally within 24 to 72 hours after hail, wind, or falling debris. That window helps preserve evidence, document the storm date, and catch leaks before they spread into insulation or drywall.
The Bottom Line
A free roof inspection Boise is worth it when you use it as a fact-finding step, not a buying decision. The best version gives you photos, a clear inspection report, and enough detail to decide whether you need repair, monitoring, or insurance follow-up. Pick one thing from this article and try it this week — not all of it, just one: ask for the photos before any sales pitch. If you want the bigger context, start with the parent guide on Storm & Hail Roof Damage in Boise: Repair, Insurance & Prevention.
Sources Worth Checking
For homeowner-facing guidance on storm documentation and insurance timing, the FEMA and Insurance Institute for Business & Home Safety resources are useful starting points. For roof safety and inspection standards, consult OSHA guidance on fall protection and the manufacturer guidance for your roofing system. These are not replacements for a local roof inspection, but they help you ask better questions.
Helpful references:
See also: storm damage roof repair Boise
See also: roof insurance claim Boise
See also: hail damage roof repair Boise
Related: ice dam roof repair Boise
Related: roof storm damage claim denied Boise
Related: roof snow load Boise
Leave a Reply