

roof insurance claim Boise: The Claim Timeline That Works
⏱️ 8 min read · Last updated: 2026
- Typical homeowners deductible range: commonly $1,000 to $2,500, though some Boise policies use a percentage deductible instead of a flat dollar amount.
- Claim timeline: many roof claims move from first report to initial adjuster review in about 7 to 21 days, but supplements can extend the file by 2 to 6 more weeks.
- ACV vs RCV: ACV pays replacement cost minus depreciation; RCV usually pays depreciation back after repairs are completed and documented.
- Depreciation recovery step: send the final invoice, photos of completed work, and any required inspection proof to trigger the recoverable depreciation payment.
- Boise storm damage often shows up first as lifted shingles, bruised hail impacts, or edge damage from wind, not obvious leaks inside the house.
After a March hail burst, the roof looked fine from the driveway, but the soft spots showed up only when I tapped the shingles with a plastic mallet. That is the part most people miss with a roof insurance claim Boise: the outside can look “okay” while the damage is already enough to matter to an insurance adjuster.
The trade-off is simple. File too early with weak photos and the file can stall; wait too long and a repair patch may erase the evidence the carrier needed to see. I have seen a Boise estimate sit at $12,400 on paper, then shrink after the first review because the policyholder could not prove which shingles were wind-lifted versus old wear.
The fastest clean claim is not the one with the most emotion. It is the one with the best evidence: dated photos, a clear loss date, and a roof inspection that matches the policy language.
Should you file now or inspect first?
If the roof has hail hits, missing shingles, or a sudden leak after a storm, inspect first and document everything before filing. If the damage is already obvious from the ground, file quickly; if the only clue is a ceiling stain, start with an attic check and a professional roof inspection before you open the claim.
That order matters because once the carrier sees the loss, the clock starts. You can still do emergency tarping and temporary drying, but keep the damaged materials and take photos before anything gets thrown away. For a roof leak after storm Boise situation, a small ceiling spot often means the real damage happened higher up, around flashing, vents, or a torn underlayment.
- If shingles are missing or torn: file first, then schedule the inspection.
- If you only see granules in gutters: document them, but do not assume the roof is a claim yet.
- If a tree hit the roof: call the insurer the same day and photograph impact points from the ground and attic.
- If the damage is from hail: use a ladder only if you can do it safely; otherwise hire a roof inspection.
If you want a practical starting point, compare the symptoms to a dedicated page on storm damage roof repair Boise, then decide whether the roof needs an inspection or an immediate claim.
Quick check: If you can point to a storm date, visible roof damage, and photos from before any repair, you are ready to move forward.
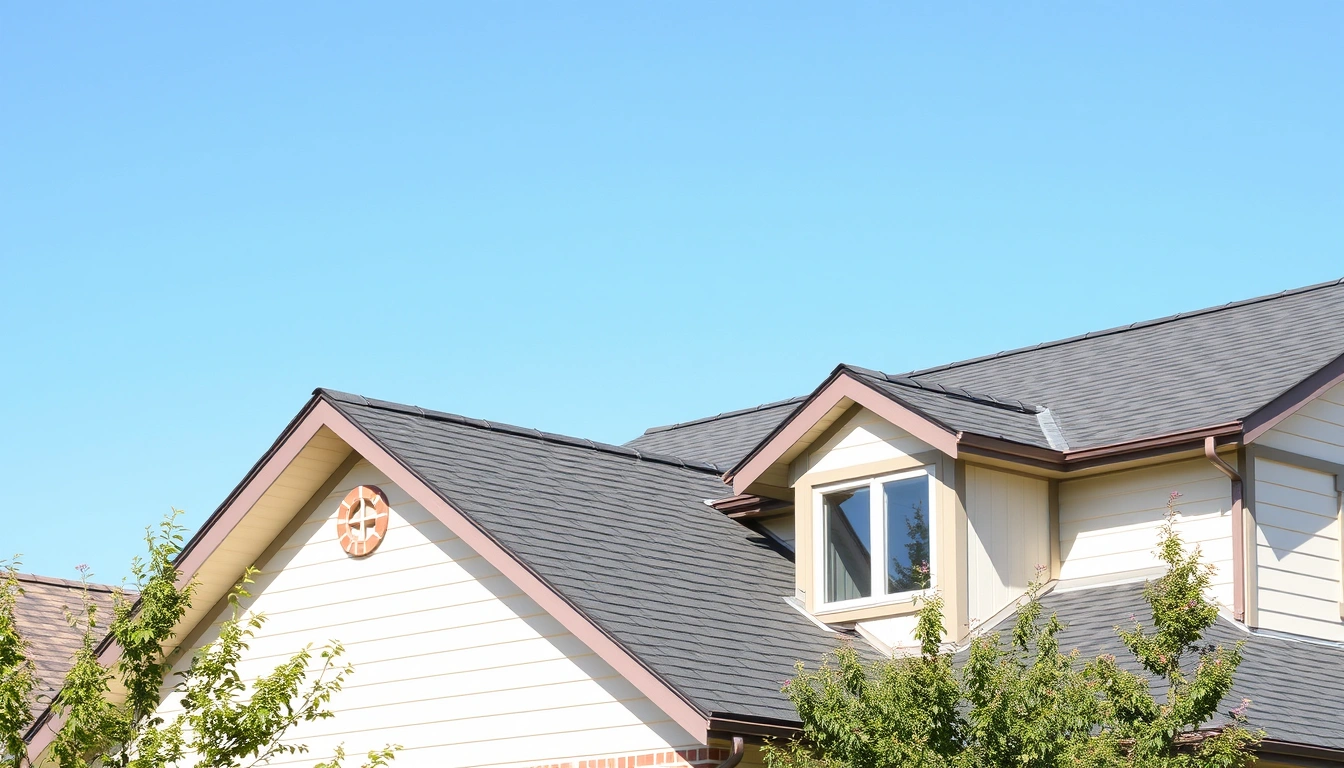
What the Boise claim timeline actually looks like
A typical roof insurance claim Boise moves in five stages: report, inspect, estimate, negotiate, and close. In many cases, the first cycle takes 7 to 21 days, but the file can run longer if the carrier asks for more photos, a contractor estimate, or a second visit.
The part that surprises people is how normal delays can be. Insurance companies often need time to compare the damage report with the policy language, the age of the roof, and the estimate format. If you are filing in Boise after a wind event or hailstorm, the carrier may also be handling a spike in claims, which slows the first response.
- Take dated photos of the roof, attic, ceilings, gutters, and siding before any cleanup.
- File the claim and record the claim number, adjuster name, and reported loss date.
- Schedule the inspection and be ready to walk the roof with the insurance adjuster meeting if safe access is allowed.
- Compare the first estimate to your contractor estimate line by line.
- Submit a supplement claim if the scope misses flashing, vents, underlayment, code items, or ridge caps.
- Send final invoices and photos after repairs to recover depreciation if your policy includes RCV.
That last step is where many people lose money. If the policy starts as ACV vs RCV, the carrier may pay only actual cash value first, then release the depreciation after the job is done. In plain English, that means you do not usually get full replacement money until you prove the roof was replaced.
A clean claim timeline is usually 7 to 21 days to first review, then another 2 to 6 weeks if a supplement claim is needed.
If the file is being delayed by storm-related hail evidence, it helps to compare damage patterns with a local reference on hail damage roof repair Boise before you accept the first scope.
Quick check: If your claim has no claim number, no inspection date, and no written estimate yet, you are still in the early phase.
How should you handle the insurance adjuster meeting?
Handle the insurance adjuster meeting like a roof inspection with documentation, not a sales pitch. Bring photos, an estimate from a local roofer if you already have one, and a written list of visible damage points, then walk the roof only if it is safe and allowed.
The insurance adjuster is not there to redesign the roof. The job is to confirm what happened, connect the damage to the loss date, and estimate covered repairs. If the adjuster misses an item, stay calm and ask for it to be noted in the file rather than arguing on the driveway.
What to bring
- Claim number and policy information.
- Photos of all damage, including close-ups and wide shots.
- Any contractor estimate, especially if it includes code-related work.
- Attic photos, leak points, and interior ceiling stains.
What to say
Use simple language: where the damage is, when you first noticed it, and what storm or event likely caused it. Do not guess about technical causes unless you can point to the evidence. If the carrier asks whether the roof leaked before the storm, answer honestly and show what changed after the event.
The one sentence I wish more homeowners used is this: “Please note any missed areas in the estimate so I can compare it with my roofer’s scope.” That keeps the file professional and makes later negotiation easier if a supplement claim becomes necessary.
If wind was the main issue, the same logic applies, but the damage pattern often sits at the edges and seams. A local resource on wind damage roof repair Boise can help you match what the adjuster sees with what the roof actually needs.
Quick check: If you do not have photos, a roofer’s written scope, and a clean explanation of the loss date, the adjuster meeting will be harder than it needs to be.

What is the difference between ACV and RCV for roof claims?
ACV vs RCV is the biggest money difference in a roof claim. ACV, or actual cash value, pays replacement cost minus depreciation; RCV, or replacement cost value, pays more over time and usually reimburses depreciation after the roof is replaced.
That means two homeowners can have the same hail damage and end up with very different checks. If your roof is older, ACV can leave a noticeable gap. If your policy is RCV, the first check may still be partial, but the second payment can release the held-back depreciation once the work is complete.
| Situation | Best Path | Why Other Options Fail |
|---|---|---|
| Older roof with visible storm damage | Check whether the policy is ACV or RCV before choosing repairs | Assuming full replacement money can leave a surprise out-of-pocket balance |
| Newer roof with clear hail impacts | File promptly and document the full loss | Waiting can blur the storm date and weaken the claim |
| Claim includes code upgrades or hidden damage | Ask for a supplement claim review | The first estimate often misses underlayment, vents, or drip edge |
| Small leak with uncertain cause | Inspect before filing if storm timing is unclear | A weak claim can be harder to reopen later |
If your policy is RCV, the depreciation recovery step is simple: finish the repairs, then send the final invoice and completion photos to release the withheld amount.
That recovery step is not optional. Many homeowners forget to follow up after the roof is replaced, and the insurer never sends the second payment until someone asks for it. In 2026, that still happens all the time.
Quick check: If you have not looked up ACV vs RCV on your declarations page, you do not yet know how much of the repair bill the insurer is likely to cover.
When a supplement claim is worth pushing
A supplement claim is worth pushing when the first estimate misses covered items, hidden damage, or code-required work. If the carrier missed flashing, decking replacement, underlayment, pipe boots, or ridge ventilation, a supplement claim is usually the right move.
This is the part most sales pages skip, and it matters. The first estimate is often built from what the insurance adjuster could see on inspection day, not what the roof needs once the tear-off starts. If your roofer finds more damage under the shingles, the file should be reopened with photos, measurements, and line items.
Use a supplement claim when you have proof, not just suspicion. A good supplement file includes before-and-after photos, manufacturer specs, code references if applicable, and a matched estimate from a local contractor. If the added scope is minor, the extra paperwork may not be worth it; if the missing items affect waterproofing or ventilation, it usually is.
If the storm also caused localized leaks, pairing the supplement with a documented roof leak storm inspection can help separate old wear from storm-related damage and support the file.
Quick check: If the estimate has fewer line items than the real repair scope, a supplement claim is probably on the table.
When the normal advice breaks down
The normal advice breaks down when the roof is old, the damage is mixed, the storm date is fuzzy, or the insurer calls it wear instead of damage. In those cases, the answer changes from “file immediately” to “document first, then choose the cleanest path.”
1. The roof is already near the end of its life
If the roof is 18 to 25 years old, the carrier may lean harder on depreciation or wear-and-tear exclusions. What changes: the paper value drops fast. What to do instead: get an inspection before filing if the damage is light, or file with very strong photos if the storm damage is clear.
2. The leak showed up weeks after the storm
If water appeared later, the timing looks weaker unless attic staining, nail pops, or underlayment damage ties it back to the event. What changes: causation matters more. What to do instead: document the original storm date, humidity, and the exact day the leak appeared.
3. Multiple storms hit in one season
If hail and wind events happened close together, the insurer may ask which storm caused which damage. What changes: the loss date becomes critical. What to do instead: match shingle bruising, lifted edges, and interior leaks to the most likely event, then keep the file focused.
4. The roof is patched already
If a patch was installed before photos, some evidence is gone. What changes: proof gets harder. What to do instead: photograph the patch, get a roofer’s written opinion, and ask whether a partial supplement claim is still supportable.
5. The homeowner wants to skip the inspection
If there is no inspection, the claim is usually weaker. What changes: the carrier has less evidence to approve replacement. What to do instead: book a roof inspection first, especially after hail or high wind in Boise.
One honest mistake I see often: homeowners accept the first scope because they are tired, then discover the repair needs a second round of paperwork. That mistake can cost a full weekend and a few hundred dollars in avoidable delays.
Quick check: If your roof is old, patched, or tied to two storms, do not use generic advice; build the file around the cleanest evidence.
How do I file a roof damage insurance claim in Boise?
File a roof damage insurance claim in Boise by documenting the damage, calling the insurer, and giving a clear loss date. Then schedule the inspection, keep the damaged materials available, and compare the first estimate against the actual repair scope before you accept payment.
The cleanest order is: photos first, claim second, inspection third, estimate review fourth, and supplement claim only if the scope is incomplete. If the roof is actively leaking, stop the water intrusion right away, but keep records of every temporary fix.
Should I get a roof inspection before filing an insurance claim in Idaho?
Yes, if the damage is uncertain or the leak is small, a roof inspection before filing can save you from opening a weak claim. If the roof has obvious hail hits, missing shingles, or storm-related wind damage, file first and schedule the inspection right away.
The useful middle ground is simple: inspect first when the cause is unclear, file first when the damage is obvious. That keeps you from wasting a claim on normal aging and helps the adjuster connect the dots when there really was a storm.
- File fast when damage is obvious, but inspect first when the storm cause is unclear.
- ACV vs RCV decides whether depreciation is paid back after repairs or absorbed up front.
- A supplement claim is the normal next step when the first estimate misses hidden damage.
- The best Boise claims are built from dated photos, a clear loss date, and a clean adjuster meeting.
Common Questions About roof insurance claim Boise
What documentation do I need for a Boise roof insurance claim?
You need dated photos, the storm or loss date, your claim number, and any contractor estimate. Add attic photos, ceiling stains, and close-ups of shingles, flashing, or hail marks. If you later request a supplement claim, those same records make the file much easier to reopen.
How to file a storm roof claim step by step?
Photograph the damage, call your insurer, and record the claim number. Next, schedule the insurance adjuster meeting, compare the scope to a roofer’s estimate, and ask about ACV vs RCV. If hidden damage appears after tear-off, submit a supplement claim with photos and line items.
ACV vs RCV coverage — which is better for a roof claim?
RCV is usually better because it can reimburse depreciation after the roof is repaired. ACV pays less up front because it subtracts depreciation from the start. If cash flow matters, the policy type can change whether you can complete the job without paying a large gap yourself.
Why was my roof claim underpaid and how do I fix it?
Roof claims are often underpaid when the first estimate misses hidden damage, code items, or full tear-off requirements. Fix it by comparing the insurer’s scope with your contractor estimate, then request a supplement claim with photos, measurements, and a line-by-line explanation of what is missing.
How much is a typical roof insurance deductible in Boise?
A typical roof deductible is commonly $1,000 to $2,500, but some Boise policies use a percentage deductible instead. Check the declarations page before you file, because the deductible can change whether a small repair makes sense or whether a full claim is the better path.
How long does a Boise roof claim usually take from start to finish?
Many roof claims reach the first review in 7 to 21 days. If the file needs a supplement claim, final approval and payment can take 2 to 6 additional weeks. The faster you send photos, estimates, and completion documents, the less the timeline tends to drift.
The Bottom Line
For a roof insurance claim Boise, the best move is usually the most boring one: document early, file with a clear loss date, and treat the insurance adjuster meeting like a fact-finding appointment. If the first estimate is thin, push a supplement claim instead of arguing about the whole policy.
Pick one thing from this article and try it this week — not all of it, just one. Start with the roof photos and your deductible amount, or review the claim flow against the Storm & Hail Roof Damage in Boise: Repair, Insurance & Prevention pillar before you call the carrier.
See also: storm damage roof repair Boise
See also: roof leak after storm Boise
See also: hail damage roof repair Boise
Related: free roof inspection Boise
Related: ice dam removal
Related: roof storm damage claim denied Boise
Leave a Reply