
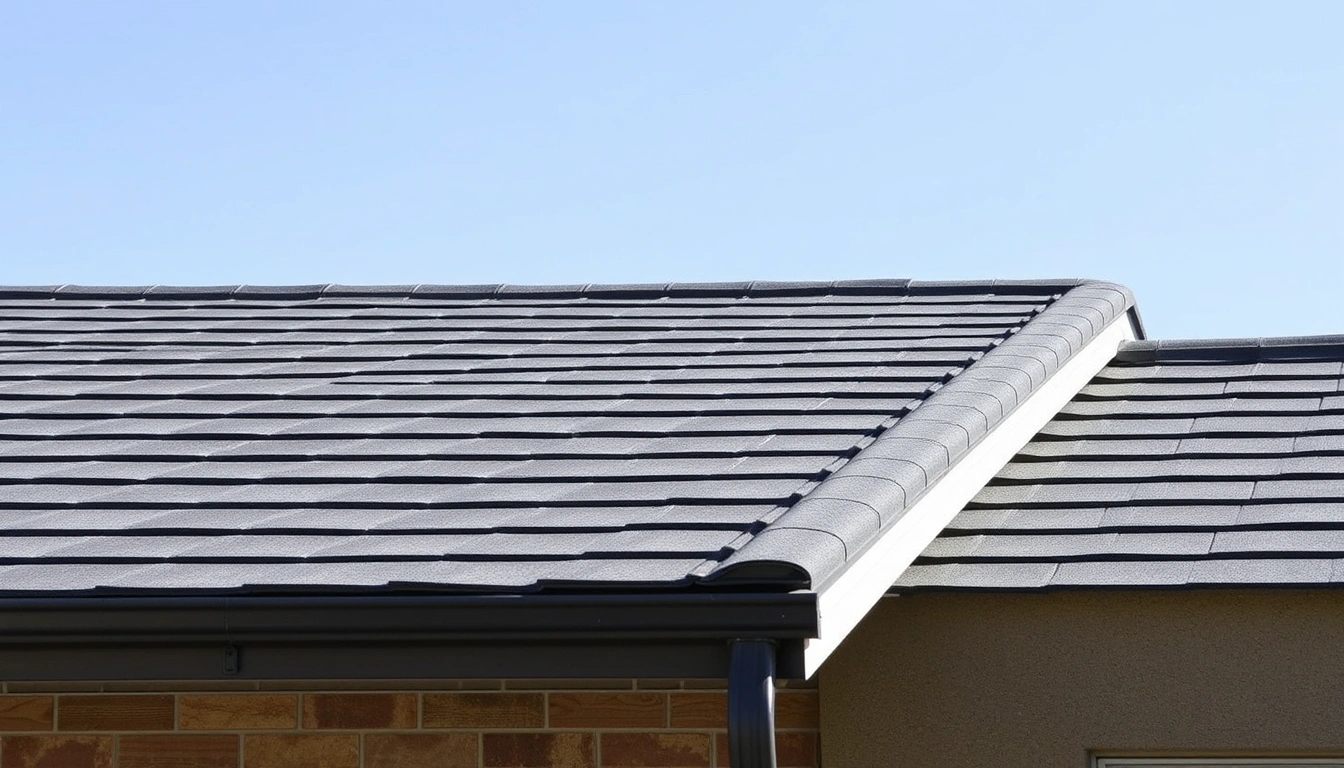
Roof flashing repair Boise: Costs, Signs, and Fixes That Hold
⏱️ 8 min read · Last updated: 2026
- Typical flashing repair cost: about $250–$900 for a localized repair, and $900–$1,800 when chimney flashing or multiple roof penetrations need replacement.
- Typical flashing lifespan: about 15–30 years for galvanized steel or aluminum, and often longer for copper when installed correctly.
- Sealant durability years: commonly 3–7 years on exposed roof joints, but sun, ice, and movement can shorten that window.
- Most winter leaks in Boise show up around the chimney, roof vents, and pipe boot, because those are movement points.
- Fresh sealant over failed metal is a temporary patch, not a durable repair, unless the flashing itself is still intact and properly lapped.
A neighbor once blamed the shingles for a ceiling stain, but the leak started at a bent piece of metal beside the chimney. That is the usual story with roof flashing repair Boise: the visible stain is rarely the real failure point.
I have watched a good repair save an attic from repeat leaks after one freeze-thaw cycle, and I have also seen a $40 tube of sealant hide the problem for one month. The trade-off is simple. If the metal is sound, sealant can buy time. If the flashing is rusted, lifted, or mis-lapped, the repair has to be rebuilt, not painted over.
What failed roof flashing actually looks like on a Boise home
Failed flashing usually looks like lifted edges, rusty streaks, cracked sealant, or a fastener head that no longer sits tight. On a Boise home, the best clue is often not the leak itself but staining that returns after snow melts or after a wind-driven rain.
The easiest way to check is to look at the transition points, not the field of shingles. That means the chimney sidewalls, roof-to-wall intersections, vent stacks, and any place a pipe boot pokes through the roof. The failure is usually in the overlap, the bend, or the seal, not the shingle surface.
A good visual rule: if you can see daylight under flashing edges, cracked mastic, or corrosion at the fold, the joint is already failing.
| Visible clue | What it usually means | Best next move |
|---|---|---|
| Rust at a bend | Metal is weakening | Replace the piece, not just the sealant |
| Cracked sealant line | Movement or UV breakdown | Check whether the joint still overlaps correctly |
| Ceiling stain after snowmelt | Ice or meltwater is entering a transition | Inspect chimney flashing, pipe boot, and vent leak seal points |
If you are comparing repair paths, the broader roof repair Boise category helps you separate a small flashing issue from a bigger roof-system problem. That distinction matters because patching the wrong spot is how homeowners end up paying twice.
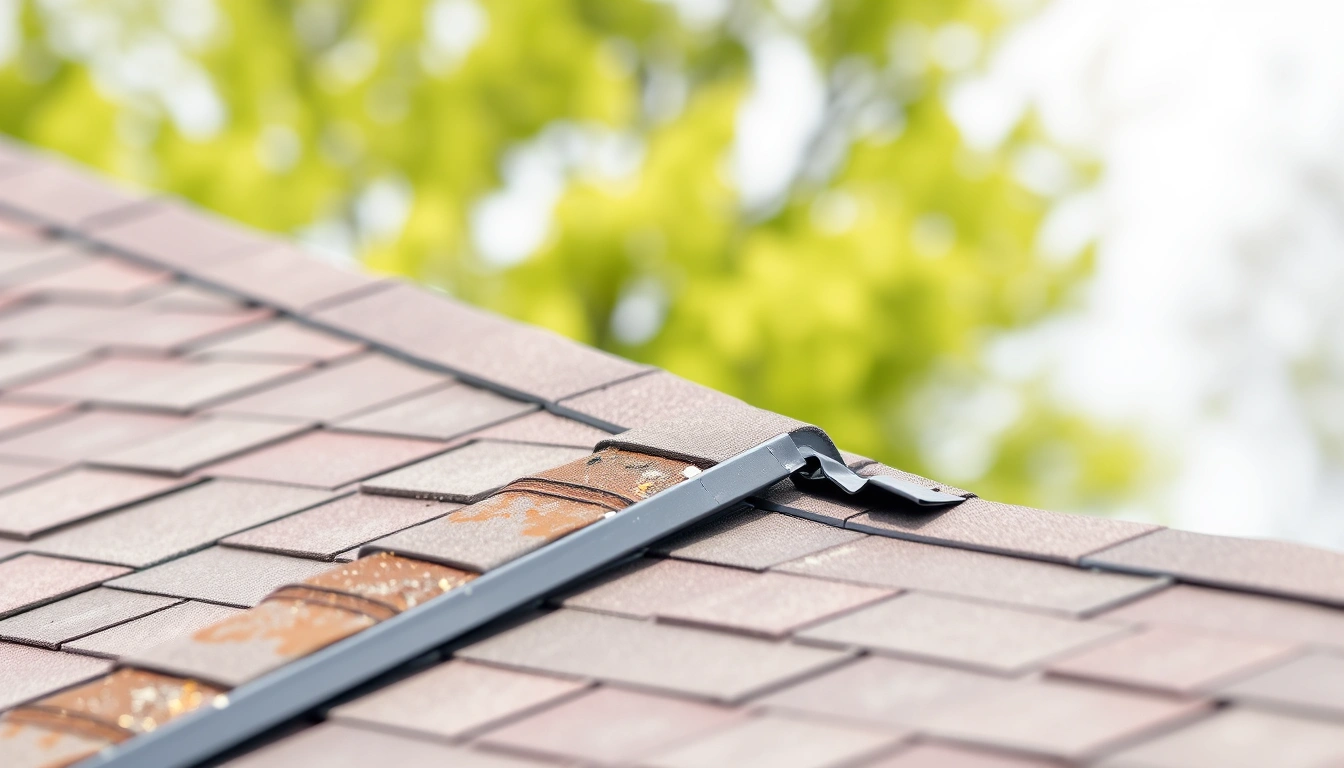
How step flashing and chimney flashing actually work
step flashing and chimney flashing work by layering metal so water is forced to shed onto the shingle below, not into the wall joint. The system depends on overlap, slope, and a clean path for water to move downhill.
Step flashing is a series of small L-shaped pieces installed where a sloped roof meets a wall. Each shingle course gets its own piece, which is why a single flat strip of metal is not a real substitute. Chimney flashing usually includes base flashing, step flashing, counterflashing, and sometimes a cricket on the uphill side to split water around the chimney.
The key here is the overlap sequence — notice how each upper piece covers the joint below it. That is what separates a dry roof from a leak path. If one piece is missing or reversed, water rides the metal backward.
- Step flashing should extend up the wall and under the shingle course, with each piece lapped by the next.
- Chimney flashing should include both a base layer and a cover layer where possible.
- A pipe boot should sit flat, with the rubber or collar intact around the pipe.
- A vent leak seal should stop water at the penetration without trapping it under the flange.
The roof itself does not need to be perfect; the water path does. Most flashing leaks are failures of direction, overlap, or movement control.
For context on how roof leaks are tracked and repaired locally, the roof leak repair Boise page is useful when the stain is visible but the source is not. In many cases, the leak is not “through the roof” at all. It is entering at a seam and traveling along framing until it shows up somewhere else.
The correct way to repair flashing step by step
The correct repair is to expose the joint, identify the failed piece, and replace or reset the flashing so water sheds cleanly. A surface patch only works when the metal is still straight, the overlap is intact, and the problem is just an open edge.
- Find the exact entry point. Check the attic or the underside of the roof deck if accessible, then match that location outside. What to check: staining, damp sheathing, or rust lines. What not to do: patch the first visible crack you see.
- Lift the surrounding shingles carefully. What to check: whether the flashing can still be reused and whether nails are holding correctly. What not to do: tear the shingles or bend reusable metal past its crease.
- Remove failed sealant and damaged fasteners. What to check: whether the fastener holes have enlarged or corroded. What not to do: bury old failures under more sealant.
- Install new step flashing, chimney flashing, or a new pipe boot as needed. What to check: proper overlap and flat contact. What not to do: mix pieces that do not match the roof slope.
- Set the flashing under the uphill materials and over the downhill shedding surface. What to check: water should always move over the lap, not toward an open edge. What not to do: reverse the order.
- Use sealant only at the correct termination points. What to check: a thin, continuous bead at the edges or reglet, not a thick blob across the face. What not to do: rely on sealant as the main waterproof barrier.
- Test with a hose or inspect after the next rain. What to check: no seepage, drip trail, or fresh dampness. What not to do: assume a repair is done just because it looks neat.
When you compare quotes, ask whether the crew plans a true replacement or a sealant patch. The difference often shows up in the price, which is why checking roof repair cost Boise can help you spot an estimate that is too low to include real flashing work.
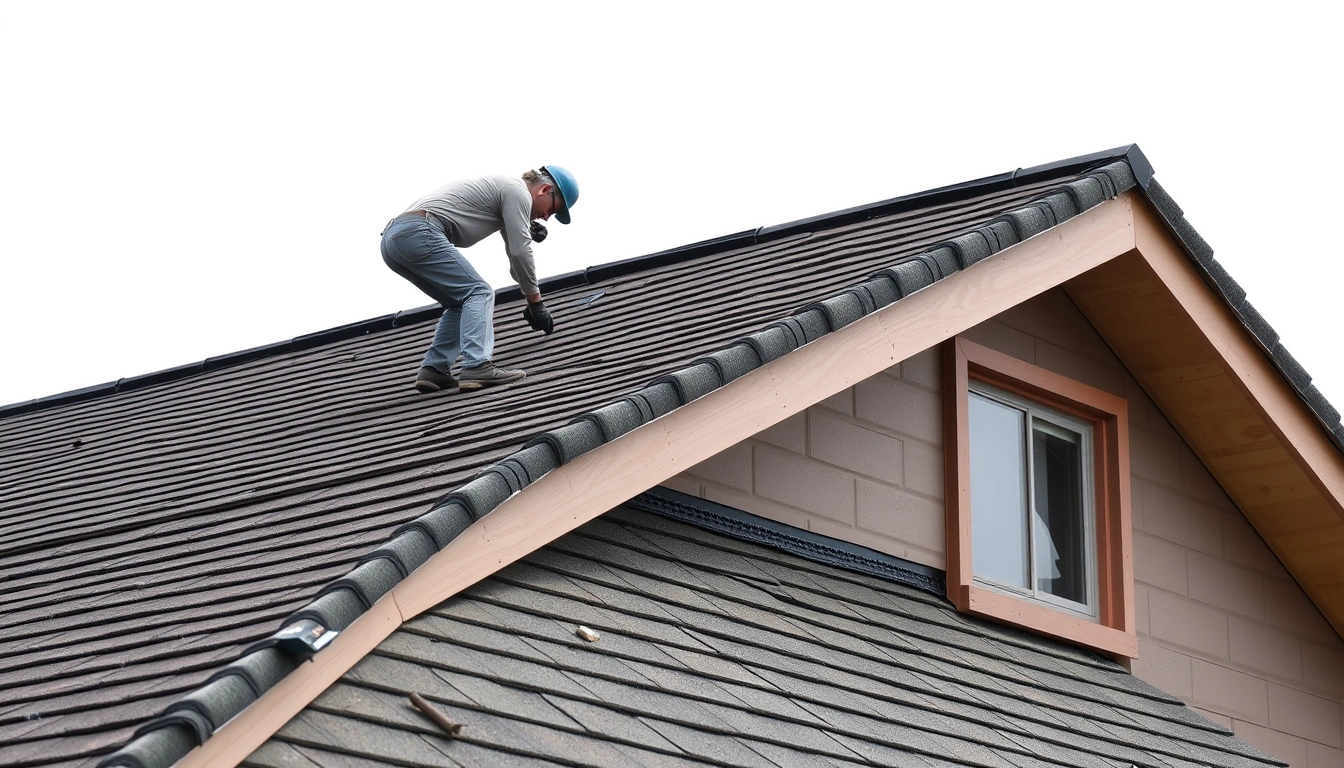
Before vs. after: what good roof flashing repair Boise actually looks like
Good roof flashing repair Boise looks clean at the edges, layered in the right order, and boring in the best way. Bad repair work is usually easy to spot once you know what to look for: smeared sealant, exposed fasteners, mismatched metal, or a flat strip forced over a 3D transition.
The “before” photo should show rust, a lifted seam, cracked caulk, or a pipe boot that has split at the collar. The “after” photo should show fresh metal, consistent overlap, and sealant used sparingly at termination points only. The key here is not shine. It is the direction of water flow.
| Feature | Bad repair | Good repair |
|---|---|---|
| Sealant | Thick, smeared, covering the whole joint | Thin bead only where the metal ends or terminates |
| Metal overlap | Short, uneven, or reversed | Consistent lap that sheds downhill |
| Fasteners | Exposed or rusted | Placed where they are covered and protected |
| Pipe boot | Split rubber, curled flange, or loose collar | Flat base, intact collar, tight penetration fit |
A repair that looks “sealed” but hides the metal is often the one that fails first in the next freeze-thaw cycle.
That is why photos matter so much. Before-and-after visuals show whether the repair rebuilt the flashing system or just dressed up the leak. In Boise, that difference becomes obvious after one cold snap.
The detail everyone gets wrong with chimney flashing repair
The detail everyone gets wrong is assuming chimney flashing repair is a caulk job. It is usually a metal-lap job first, with sealant used only to finish the edges or manage a small termination gap.
Chimney flashing repair often fails because the counterflashing was never cut deep enough into the mortar, or because the base flashing was not tucked properly under the shingles. If the chimney has a cricket, that uphill diverter also needs to shed water to both sides without backing it up at the ridge line.
What a real chimney repair includes
A proper chimney flashing repair usually includes removing the damaged section, checking the mortar joint, replacing the base flashing or step flashing as needed, and setting the counterflashing so it covers the termination cleanly. If the masonry is cracked, the wall itself may need attention before the flashing will hold.
- Check for loose mortar where the counterflashing is seated.
- Confirm the uphill side has a cricket if the chimney is wide enough to trap water.
- Use compatible metal, because mixed metals can corrode faster over time.
- Inspect the shingles around the chimney for hidden nail holes or split tabs.
For homeowners comparing a repair versus a repeat problem, the Boise roof repair statistics page can help frame how often localized fixes are enough versus when larger roof work makes more sense. That matters because some chimney leaks are not isolated at all. They are symptoms of a wider roof age issue.
Why does my roof leak around the chimney every winter in Idaho?
Roof leaks around the chimney often repeat in winter because snowmelt refreezes, expands, and opens tiny gaps in flashing joints. Idaho’s freeze-thaw pattern is brutal on old sealant, tired mortar, and any flashing that has already shifted a little.
Warm attic air can also melt snow unevenly, which sends water uphill under weak joints. Then the temperature drops at night, and the water freezes again. That repeated expansion is why a leak can disappear in spring and return every winter.
A sealant bead that lasts five years in mild weather may break down much sooner on a Boise roof that sees sun, wind, snow, and freeze-thaw cycles.
There is also a geometry problem. Chimneys interrupt a smooth roof plane, so they collect drifting snow and runoff from above. If the flashing is old, the water stays too long at the seam and finds the weakest point.
The best fix is to address both the leak point and the water path. That may mean a new chimney flashing assembly, a better cricket, or a pipe boot replacement if the roof penetration is the actual source. A winter-only leak is often a flashing issue, not a “bad roof” issue.
How long flashing should last, and when sealant is only buying time
Flashing should usually last 15–30 years, depending on the metal, exposure, installation quality, and roof movement. Copper often lasts longer, while thin galvanized pieces can fail sooner if water sits on them or the bend was damaged during installation.
Sealant is the short-term part of the system. In many cases, it lasts 3–7 years, but that is a typical range, not a promise. Sun exposure, temperature swings, and poor surface prep can cut that down fast.
| Material or fix | Typical lifespan | Best use |
|---|---|---|
| Galvanized or aluminum flashing | 15–30 years | Standard roof-to-wall and penetration details |
| Copper flashing | 30+ years in many installs | Long-life chimney and premium details |
| Sealant | 3–7 years | Edge finishing, small gaps, temporary protection |
| Pipe boot | Often 10–20 years | Round vent pipe penetrations |
That decision point is where many homeowners save money without creating a future leak. If the flashing is still structurally sound, a careful reseal can extend service life. If the flashing is bent, cracked, or rusted through, the money goes farther on replacement.
Is roof flashing repair Boise worth it in 2026?
Yes, roof flashing repair Boise is usually worth it in 2026 when the leak is localized, because one small failure can damage insulation, framing, and drywall fast. It is not worth delaying if water is already entering near a chimney, vent, or pipe boot.
The real decision is whether the repair is localized or systemic. A single pipe boot replacement is modest. A chimney flashing repair with mortar work, step flashing, and a cricket costs more, but it usually prevents repeat ceiling damage and extra patching inside the house.
Here is the part most people miss: a cheap patch can be the most expensive choice if it fails after the first snow. That is why many Boise homeowners start with a leak-focused inspection instead of guessing at the shingle field.
If you need help deciding between a patch and a broader fix, a focused roof repair Boise inspection is usually the smartest first move. It tells you whether the issue is a flashing seam, a vent leak seal problem, or damage that has spread beyond one penetration.
What to do this week if you suspect a flashing leak
Start with the chimney, the vents, and any pipe boot you can see from the ground or attic access. If you find cracked sealant, rust, or a lifted edge, stop treating it like a cosmetic issue and schedule a repair.
- Take one photo of the inside stain and one photo of the roof area outside.
- Check after a dry day and again after a wet or snowy day.
- Look for the oldest detail first: chimney flashing, then step flashing, then pipe boot.
- Decide whether the issue is metal failure or sealant failure.
- Ask for the repair scope in writing, including replacement of the failed piece.
- Compare that scope against the local roof leak repair Boise options if the source is still unclear.
I made one expensive mistake early on: I trusted a clean-looking bead of sealant on a chimney joint that already had a hidden metal gap. It held long enough to fool me, then leaked again after the first cold snap. The lesson stuck. If the joint moves, sealant is not the fix. The metal is.
- Most flashing leaks start at a seam, overlap, or penetration, not the center of the roof.
- Sealant can buy time, but it is not a substitute for damaged flashing metal.
- Boise winter freeze-thaw cycles make chimney flashing, step flashing, and pipe boot failures more common.
- Good repairs show clean overlap, minimal sealant, and no exposed fasteners.
Common Questions About roof flashing repair Boise
What is roof flashing and why does it fail in Boise?
Roof flashing is the metal that seals roof transitions, such as chimneys, walls, vents, and pipe penetrations. In Boise, it fails because freeze-thaw cycles, UV exposure, and roof movement open tiny gaps in metal, sealant, or mortar. The most common failure points are step flashing, chimney flashing, and the pipe boot.
How is chimney flashing repaired to stop a leak?
Chimney flashing repair usually means removing damaged metal, checking the mortar joint, reinstalling base flashing and step flashing, then sealing only the termination points. If the counterflashing is loose or the chimney is wide, a cricket may also be needed to divert water. Caulk alone is rarely enough.
How much does flashing repair cost in Boise?
A localized flashing repair in Boise commonly runs about $250–$900, while chimney flashing repair or multiple penetration work can reach $900–$1,800. Cost depends on roof pitch, access, whether the flashing is reusable, and whether any shingles or masonry need to be removed and reset.
Caulk seal vs new flashing — which is the better fix?
New flashing is the better fix when the metal is bent, rusted, split, or mis-lapped. Caulk seal is useful only for intact flashing with a small opening at the edge or termination. If the joint moves or the metal is failing, caulk is usually a temporary patch that hides the real problem.
How long does sealant last on roof flashing?
Roof sealant commonly lasts 3–7 years, but Boise sun, snow, and freeze-thaw cycles can shorten that. If the bead is cracking, shrinking, or pulling away from the metal, it is no longer doing real work. Sealant should finish the repair, not replace the flashing.
Why does my roof leak around the chimney every winter in Idaho?
Winter leaks around a chimney usually happen because snowmelt refreezes at a weak flashing joint, then expands and opens the gap again. Idaho weather makes this worse when warm attic air melts snow from below. The fix is usually to repair the flashing assembly and water path, not just the stain inside.
The Bottom Line
roof flashing repair Boise is worth doing early, while the failure is still local and before water reaches insulation or framing. The smartest move is to inspect the chimney flashing, step flashing, pipe boot, and vent leak seal points first, then choose replacement over reseal if the metal is bent, rusted, or mis-lapped.
Pick one thing from this article and try it this week — not all of it, just one: check the chimney and vent penetrations after the next rain, or ask for a written scope that names the failed flashing piece. If you want the bigger local context, start with the main Roof Repair in Boise, ID: Costs, Common Fixes & When to Call a Pro pillar and compare the repair path before you spend a dollar.
See also: roof repair Boise
See also: roof repair cost Boise
See also: roof leak repair Boise
Related: roof repair Meridian ID
Related: post storm leak
Leave a Reply